Ink on finished leather is a particular kind of bad news. The surface looks sealed, so the assumption is that the stain sits on top, waiting to be lifted. That is rarely how it goes. Finished leather is coated, but the coating is thin, and ballpoint ink especially has a way of working into the seams and texture before anyone notices it happened. How quickly the stain is addressed, and which solvent is used, determines most of what is possible.


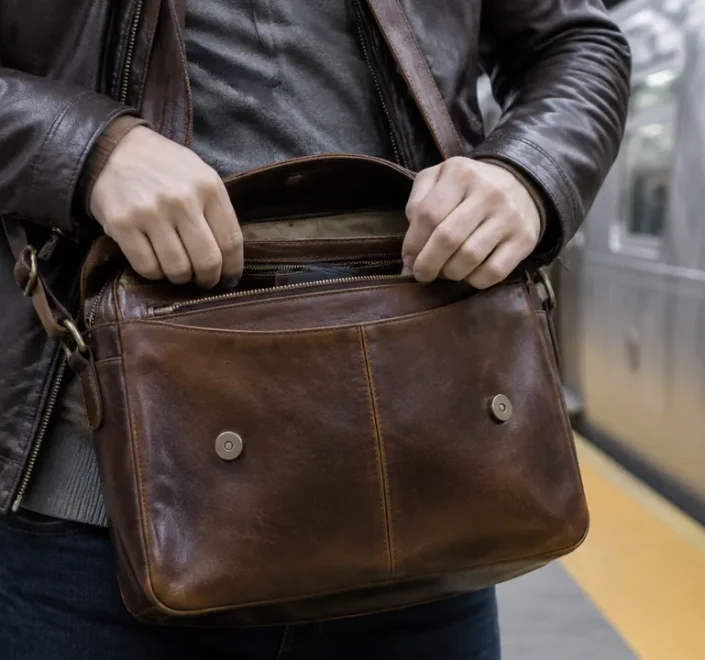
The distinction between finished and unfinished leather matters enormously here. Finished leather has a surface coat, usually an acrylic or polyurethane topcoat applied at the factory, that makes it more resistant to water and light abrasion. This is the leather on most sofas, car interiors, and quality handbags. Suede and nubuck have no such coat. Everything that follows is for the finished kind only. Using these methods on unfinished leather will likely cause more damage than the ink already did.
Assess the Ink and the Age of the Stain
Ballpoint ink, the type from a rolling-ball pen, is oil-based and tends to respond well to alcohol-based solvents. Gel ink and rollerball ink are water-based, which changes the approach slightly. Permanent marker is a different problem entirely, with pigment that binds aggressively to the surface coating. Knowing which type of ink is present shapes every decision that follows.
Fresh ink, meaning anything under an hour old, has not fully cured against the leather surface. There is a window in those early minutes where a dry cloth pressed gently, without rubbing, can pull up a meaningful amount before any solvent is needed. Press and lift. Rubbing spreads the stain laterally and works the ink deeper into the surface texture. One firm press with an absorbent cloth, repeated with a clean section each time, is all that should happen in those first moments.
An old stain, days or weeks set, has bonded differently. The oil-based component of ballpoint ink oxidizes and hardens. The expectation should shift from full removal to significant fading. That is an honest assessment, and it is better to go in with it than to scrub aggressively chasing a result that is no longer available.
The Isopropyl Alcohol Method for Ballpoint Ink
Isopropyl alcohol at 70 to 90 percent concentration is the most reliable first approach for ballpoint ink on finished leather. Higher concentrations, at 99 percent, evaporate too fast to be useful and carry a slightly higher risk of stripping the surface coating if left in contact for any time. Lower concentrations, such as the 50 percent commonly used for wound care, contain too much water and can leave its own mark on certain finishes.
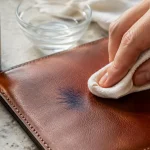
Apply a small amount to a cotton swab, not a cloth. A swab allows control over exactly where the solvent touches. Work from the outside edge of the stain inward in small circles, turning or replacing the swab before it gets saturated with lifted ink, which would just redistribute the stain. The goal is to transfer the ink from the leather to the swab, not to dissolve it into the surrounding surface.
After each pass, let the area dry for thirty seconds before continuing. Alcohol works on contact, and a dry surface gives a clearer read of what progress is actually being made. Most ballpoint stains show visible fading within three to five passes. If no change is visible after eight or ten passes, alcohol is not going to solve this one.
Once the ink is lifted as far as it will go, wipe the area with a slightly damp cloth to remove any alcohol residue, then follow immediately with a leather conditioner. Isopropyl alcohol does dry out leather slightly with repeated exposure. It is not catastrophic, but skipping the conditioner after cleaning is how small surfacecracks start to appear over time, particularly in areas like armrests or seat edges that flex regularly.
Acetone and Why to Use It Carefully
Acetone appears on a lot of DIY ink-removal lists, and it does work on certain stains, particularly dried permanent marker. The problem is that acetone dissolves many of the same polymer compounds used in leather topcoats. On some finished leathers, it will lift the ink and take a hazy patch of the finish with it, leaving a spot that looks worse than the original stain because it reflects light differently.
If acetone is worth trying at all, it should come after alcohol has been exhausted, and it should be tested first on a hidden seam or the back of a flap. A drop on a cotton swab, held in place for ten seconds and then lifted: if the swab picks up color from the leather itself, the finish is coming with it, and acetone should stop there. If the finish holds and the test spot looks unchanged under good light, a careful application on the actual stain, always with a swab, never a cloth or paper towel, is a reasonable next step.
Non-acetone nail polish remover, which typically uses ethyl acetate as its active ingredient, is a gentler option that falls somewhere between alcohol and acetone in terms of solvency. It is worth having around as a middle step.
Commercial Leather Ink Removers
Several leather care brands make products specifically formulated for ink removal on finished leather. These products are not magic, but they are formulated to be effective on common ink types without the topcoat risks that come with applying raw solvents. Products from brands like Chamberlain’s, Leather Honey, and Bickmore have been used widely enough that their behavior on common finished leathers is reasonably well documented by practical experience.
The instructions on these products typically specify a dwell time, meaning the product is applied and left to sit for a specified period before being wiped away. Follow those instructions as written. Cutting the dwell time short reduces effectiveness. Extending it beyond the recommendation on the chance it will do more often leads to a tacky residue that attracts dust.
One honest note: commercial removers tend to perform best on fresh to moderately aged ballpoint and gel ink. Against permanent marker or heavily aged stains, they rarely outperform a proper alcohol treatment, and their cost reflects a convenience premium more than a capability premium.
What to Do When the Stain Has Already Spread
A stain that was rubbed in panic immediately after the incident is a different situation. Rubbing forces ink into the small depressions in the leather grain and can spread it over a broader area. The cleaning approach remains the same, alcohol first, working from outside in, but the target zone needs to be mapped carefully. Cleaning only the darkest center and ignoring the lighter halo around it produces a result that looks cleaned and then dirty again at the edges.
Work the full extent of the visible stain, including its lightest margins. Those margins are easier to remove than the center, and finishing them while the center is still being worked avoids a second round.
Conditioning After Every Treatment
This step gets skipped more often than it should. Any solvent-based cleaning, even a mild one, removes some of the oils that keep leather supple. On a jacket or a wallet, the cleaned spot might flex dozens of times a day. Leather that loses its conditioner in a frequently flexed area starts to show fine surface cracking relatively quickly.
A product like Leather Honey conditioner or a similar lanolin-based or oil-based conditioner applied with a soft cloth, worked gently into the cleaned area, restores that suppleness. Let it absorb fully, which typically takes twenty to thirty minutes, then buff lightly with a dry cloth to remove any excess. The conditioner also helps blend the cleaned area visually with the surrounding leather, reducing the slight tonal difference a cleaned spot can sometimes have.
When the Stain Wins
Some stains do not come out. A ballpoint leak that saturated a light-colored leather seat and was not discovered until the next morning, an uncapped marker that rolled against a cream-colored handbag, permanent marker on pale leather that someone attempted to remove with dish soap and water: these situations often land beyond what home treatment can fix.
A professional leather repair service can refinish a section of leather, which means sanding or chemically stripping the existing topcoat, treating the stain at the substrate level, and reapplying a finish matched to the original. This works particularly well on furniture and car interiors where a technician can feather the repaired section into the surrounding material. The result is not always invisible under raking light, but it is substantially better than a stain left in place or an aggressive home attempt that removed the finish without removing the ink.
The cost of professional refinishing varies considerably by region and by the scope of the area being treated. A small spot on a jacket panel costs far less than a full seat refinish. Getting two estimates is worth it before deciding whether repair or replacement makes more sense, especially on older pieces where the leather itself has other wear.
The piece of furniture or leather good that matters most is usually not the newest one anyway. It tends to be the one that already has some history to it. That is reason enough to proceed carefully, test first, and treat the surface as the irreplaceable thing it probably is.