


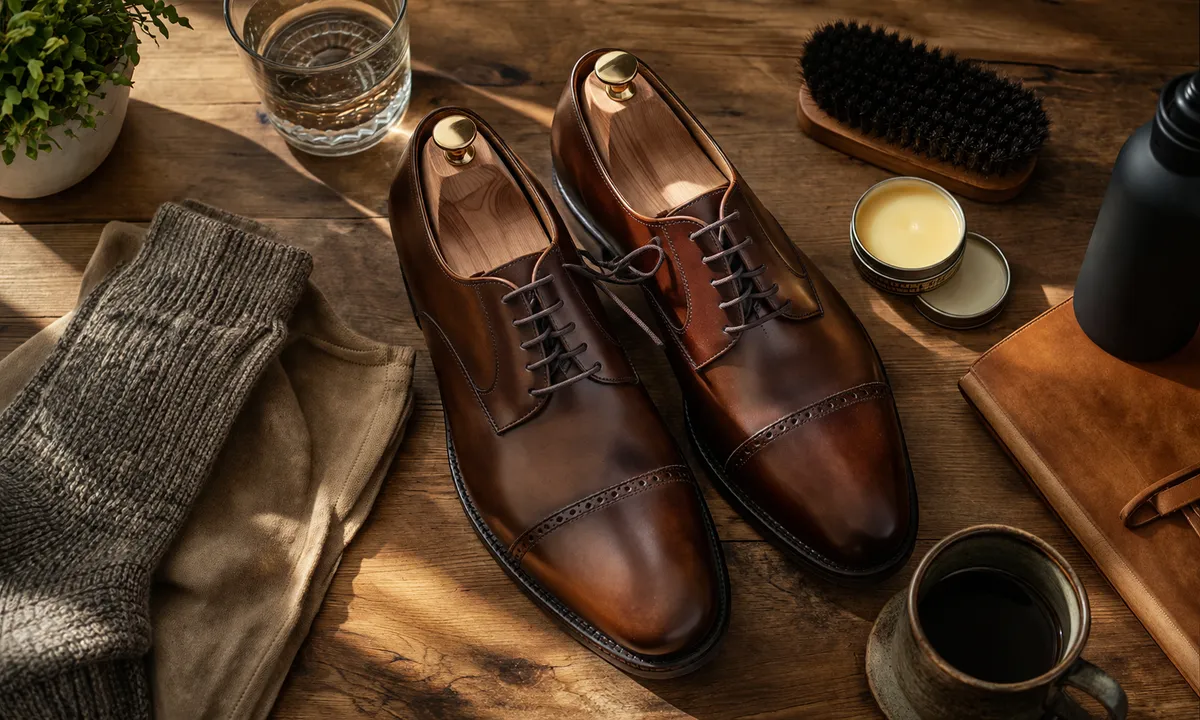
Leather shoes are sold stiff for a reason. The same density that makes full-grain leather last a decade is what makes the first ten wearings feel like walking in wood. This is not a defect. It is a material property, and every method for breaking in stiff leather shoes is really just a way of managing that property without destroying the shoe or wrecking the foot in the process.
The impatient approach, wearing them hard all day right out of the box, is the most common mistake and the source of most breaking-in horror stories. The leather needs heat and moisture and repeated flexion to soften and begin to conform. Forcing that process in eight hours produces blisters at the heel and pinch marks across the toe box, and it can crease the leather badly enough that the damage becomes permanent. The shoe breaks in, but it breaks in wrong.
Start With Fit, Not Technique
Before any conditioning or stretching method matters at all, the shoe has to be the right size. Breaking in a shoe that is genuinely too small will only produce a smaller version of the same too-small shoe. The toe box should allow the toes to spread slightly, and the heel counter should grip without digging. Fingers should be able to slide down the back with resistance. A quarter-inch of slipping at the heel is normal and usually resolves as the insole compresses. More than that, and the fit is off in a way that no amount of breaking in will fix.
Width matters at least as much as length. Many people wear the correct length in a width that is too narrow, and the resulting pressure along the outer edge of the foot is often mistaken for stiffness that will go away. It will not.
The First Three Wearings
The goal in the first few sessions is to introduce heat and flex to the leather gradually. Wear the shoes for one to two hours on the first outing, on a day that involves walking but not a long commute or a day on concrete. The foot generates heat inside a closed shoe, and that warmth, combined with the slight moisture of normal wear, begins to relax the fibers in the leather. Let the shoe cool and dry fully before wearing it again. This cooling period is when the leather sets to the new shape, which is the actual mechanism of breaking in.
Thick socks help here. A pair of wool hiking socks worn during these early sessions pads the pressure points and also stretches the shoe slightly in all directions at once. Somecobblers recommend wearing two thin dress socks stacked, which achieves similar effect without the visual absurdity of hiking socks in an Oxford. Either approach creates the small amount of extra volume needed to push the leather outward at the heel and vamp.
After the first three sessions the shoe should be visibly more flexible at the ball of the foot. That crease forming across the vamp, roughly where the foot bends, is normal and unavoidable. Deep parallel wrinkles are a sign the leather is too dry. Condition it.
Conditioning the Leather Before and During Break-In
Leather conditioner is not shoe polish. Polish sits on the surface and creates shine. Conditioner penetrates the grain and lubricates the fibers, which makes the leather more supple and less likely to crack under repeated flexion. For most full-grain leather shoes, a cream or wax-based conditioner applied before the first wearing and then once a week during the break-in period makes a meaningful difference in how quickly and evenly the leather softens.
Neatsfoot oil, mink oil, and leather conditioners from established shoe-care brands all work for this purpose. The differences between them are real but relatively minor for the average pair of dress shoes. Apply a thin coat with a cloth or fingers, work it into the heel counter and along the edges of the toe box, and let it absorb for thirty minutes before wiping off any excess. The leather should feel slightly tacky, not saturated.
One area that often goes unattended is the inside of the heel collar, the strip of leather just above where the heel counter ends. This is where the back of the ankle takes most of the friction during break-in. Conditioning this strip from the inside of the shoe reduces the abrasion significantly. Petroleum jelly applied directly to the back of the heel while wearing the shoes serves the same purpose, protecting the skin rather than the leather, and it works too.
When to Use a Shoe Stretcher
A wooden shoe stretcher is a legitimate tool. It holds the shoe at the stretched position overnight or longer, accelerating the process that wearing would achieve over several sessions. The two-way stretcher, which expands both length and width, is more useful for break-in purposes than the single-axis version. Insert it into the shoe, expand it until there is firm resistance (not force), and leave it overnight. Repeat for two or three nights.
Used with a stretching spray or a light application of water on the inside of the toe box and heel, the stretcher becomes considerably more effective. The moisture makes the leather temporarily more pliable, and the stretcher holds the expanded shape while it dries. Spray the inside lightly, not the outside, and avoid saturating the leather. Soaking leather to break it in faster is an old trick that works but risks watermarks, weakening of the glued structure, and uneven softening.
A stretcher is most useful for width issues at the toe box. Heel problems are more about the rigidity of the counter, which is often a reinforced structure that does not respond much to stretching. The heel counter softens mainly through wear, heat, and conditioning, not mechanical force.
The Specific Problem of the Heel Counter
Most of the pain in new leather shoes comes from the heel counter, the stiff structural component at the back of the shoe that keeps the heel cup from collapsing. In a well-made shoe it is a separate piece of reinforced material sandwiched inside the leather, and it takes longer to soften than the rest of the upper because it was designed to hold its shape under repeated stress.
Bending the heel counter manually, pushing on it with the thumbs from the inside while flexing the shoe back and forth, loosens the structure without damaging it. Two or three minutes of this before each wearing session during the first week accelerates the softening considerably. Some people run warm water over just the heel of the shoe for a minute or two and then immediately put the shoe on and walk in it while it dries. The heel counter, briefly softened by the heat, dries and sets in the shape of the foot rather than the original factory mold. This works, though it should be done carefully: the water should be warm, not hot, and the exterior of the shoe should be treated with conditioner afterward to prevent the leather from drying out and stiffening again.
Blister Prevention During the Process
Moleskin and gel heel pads exist specifically for this transition period. A moleskin pad cut to cover the back of the heel and the areas along the inner edge of the toe box turns a borderline-wearable session into a manageable one. These are not permanent solutions; they are tools for the break-in window, and most people discard them once the shoe has conformed.
Silicone heel grips add a small amount of volume at the heel, which reduces the up-and-down movement that causes most heel blisters. If the heel slip issue resolves once the insole compresses, the grip can come out after a few weeks. If it does not resolve, the shoe is too large in the heel and no amount of padding fully fixes that.
Stop if a hot spot develops. Walking through genuine pain in new leather shoes does not toughen the skin; it creates blisters, and blisters mean taking days off while the skin heals and the break-in process stalls. The slow approach, measured in weeks of short sessions, is faster overall than the push-through approach that sidelines the shoe entirely for a week.
How Long It Actually Takes
The timeline varies by leather type, construction, and how the shoes are used. A cemented Oxford in a relatively softcalf leather can become comfortable in eight to twelve wearings. A Goodyear-welted boot in a thick, vegetable-tanned leather can require twenty-five or more sessions before it stops being work. The difference is not quality. Vegetable-tanned leather is generally considered the more durable and long-wearing material. It is also significantly denser than chrome-tanned leather and takes longer to soften.
Shoes with a substantial leather insole rather than a cushioned synthetic one require extra time because the insole itself has to compress and mold to the arch. After it does, the fit becomes remarkably personalized, closer to a custom shoe than anything a synthetic insole can replicate. That is not a comfort claim dressed up in quality language. It is just what compressed leather does over time, holding the impression of the specific foot that wore it.
By the end of a proper break-in, the crease at the vamp follows the natural bend of the foot, the heel counter has softened at the points of contact without collapsing, and the insole has developed a shallow relief map of the sole. At that point, the shoe is genuinely formed. Lending it to someone else for a week wouldundo months of work.